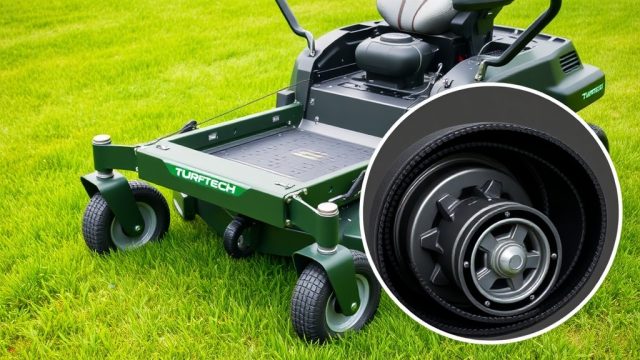
Understanding the TurfTech T-4600E Electric Start Solenoid
For owners of the TurfTech T-4600E, the electric start solenoid is a critical component that bridges the battery’s power to the starter motor. When the solenoid fails, the mower may produce a clicking sound or complete silence when the key is turned, leaving you stranded mid-yard. This guide walks through the step-by-step replacement process, covering symptoms, tools, and precautions specific to the T-4600E’s 12-volt system.
A faulty solenoid often mimics a dead battery or corroded connections, so verification is essential before purchasing a replacement. The T-4600E uses a standard three-terminal solenoid rated for 12V DC, typically costing between £18 and £35 at UK garden equipment retailers. Always disconnect the negative battery terminal first to prevent accidental shorts during work.
What Are the Symptoms of a Bad Solenoid on the TurfTech T-4600E?
Recognizing solenoid failure early saves time and money. Compared to issues like a dead electric start system, the solenoid has distinct signs:
- No click but lights dim: When you turn the key, headlights or dashboard LEDs dim, but no solenoid click occurs. This often means the solenoid coil is shorted.
- Rapid clicking: A fast, repetitive clicking (up to 10 times per second) indicates low voltage or a weak solenoid pull-in winding.
- Single loud click but no crank: A strong click with no engine rotation usually points to burned contacts inside the solenoid.
- Starter runs continuously: If the starter stays engaged after releasing the key, the solenoid’s contacts are welded shut.
Always test battery voltage first—if the battery is below 12.4V under load, charge it before condemning the solenoid. For battery health checks, see our battery maintenance guide.
How to Access the Solenoid on a TurfTech T-4600E?
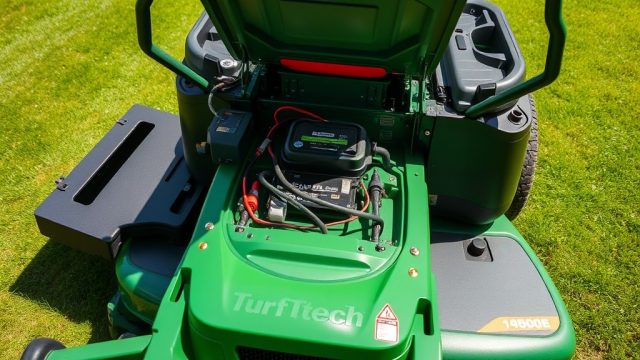
The solenoid on the T-4600E sits on the left frame rail below the fuel tank, secured by two M6 bolts. Access requires removing the engine shroud and battery hold-down bracket. Follow these steps:
- Disconnect the negative battery terminal (10mm socket). Then disconnect the positive terminal.
- Remove the plastic engine cowl by unscrewing four Phillips-head screws. Lower the cowl to clear the carburetor area.
- Unbolt the battery retention bracket (13mm socket) and slide the battery out. Set it aside on a non-conductive surface.
- Locate the solenoid: a rectangular black or silver box with two large terminals (B+ and M) and one or two small terminals (S and I).
- Take a photo with your phone for reference before disconnecting any wires.
If the solenoid appears corroded, clean the area with a wire brush before removal to prevent debris from falling into the engine bay. For cleaning tips, refer to our carburetor cleaning guide for general workshop cleanliness.
Which Solenoid Replacement Should You Buy for the T-4600E?
| Specification | TurfTech OEM (Part #TT-ELEC-01) | Aftermarket Standard | Heavy-Duty Upgrade |
|---|---|---|---|
| Voltage Rating | 12V DC | 12V DC | 12V DC |
| Continuous Current | 50A | 50A | 75A |
| Terminal Type | Copper-stud M6 | Steel-stud M6 | Copper-stud M8 |
| Sealing | IP65 rubber boot | None | IP67 potting |
| UK Retail Price | £34.99 | £18.50 | £42.00 |
| Best For | Original fit & durability | Budget replacement | Frequent use or wet conditions |
The OEM solenoid from TurfTech includes a pre-attached rubber boot that prevents moisture ingress—a common failure point on mowers stored outdoors. Aftermarket units save roughly 45% but may lack sealing, so apply dielectric grease to terminals. For spark-related issues complementing solenoid problems, see our spark plug replacement guide.
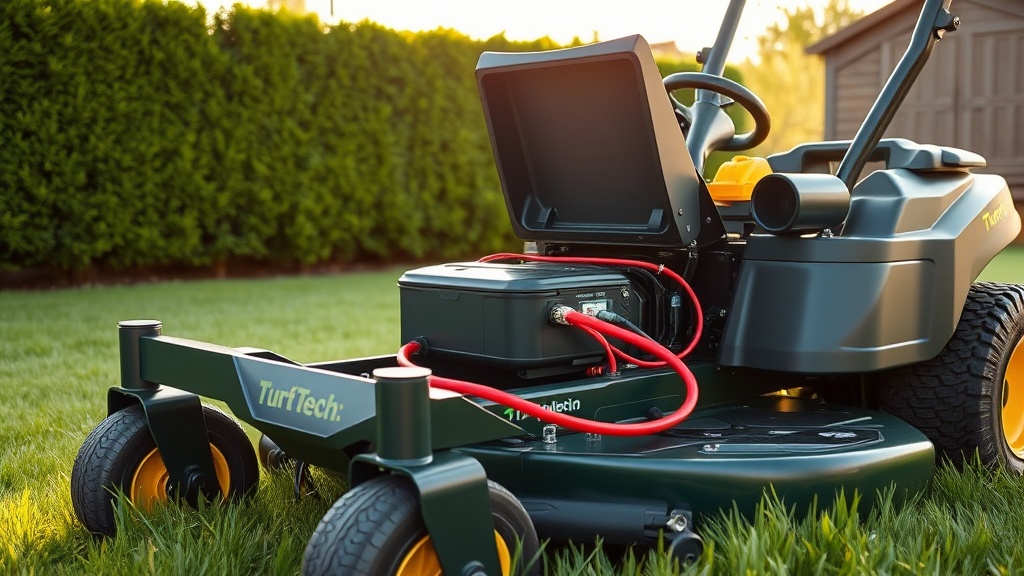
How to Remove the Faulty Solenoid Step by Step?
Removing the solenoid is straightforward but requires caution with the high-current battery cable. Work on a clean, dry surface and wear insulated gloves. Steps:
- Loosen the nut on the large terminal marked “B+” (battery positive). Use an 8mm or 10mm nut driver. Remove the red wire.
- Loosen the nut on the large terminal marked “M” (motor). Remove the yellow or red wire that goes to the starter.
- Identify the small wires: typically one or two. The “S” terminal (start) has a thin purple wire; the “I” terminal (ignition) may have a blue wire. Loosen the 6mm nuts and remove them.
- Unscrew the two mounting bolts holding the solenoid to the frame. Use a 10mm socket. The solenoid may drop free or need a gentle pry with a flat screwdriver.
- Compare the old solenoid with the new one: terminal positions should match exactly. If the new unit has different terminal layout, adjust wiring order accordingly.
- Clean the mounting bracket with a rag. Apply a drop of thread-locker (Loctite 242) to the mounting bolts.
If the old solenoid shows white or blue corrosion on the terminals, it indicates a poor connection that may have caused the failure. For deeper electrical troubleshooting, consult our electric start problem guide.
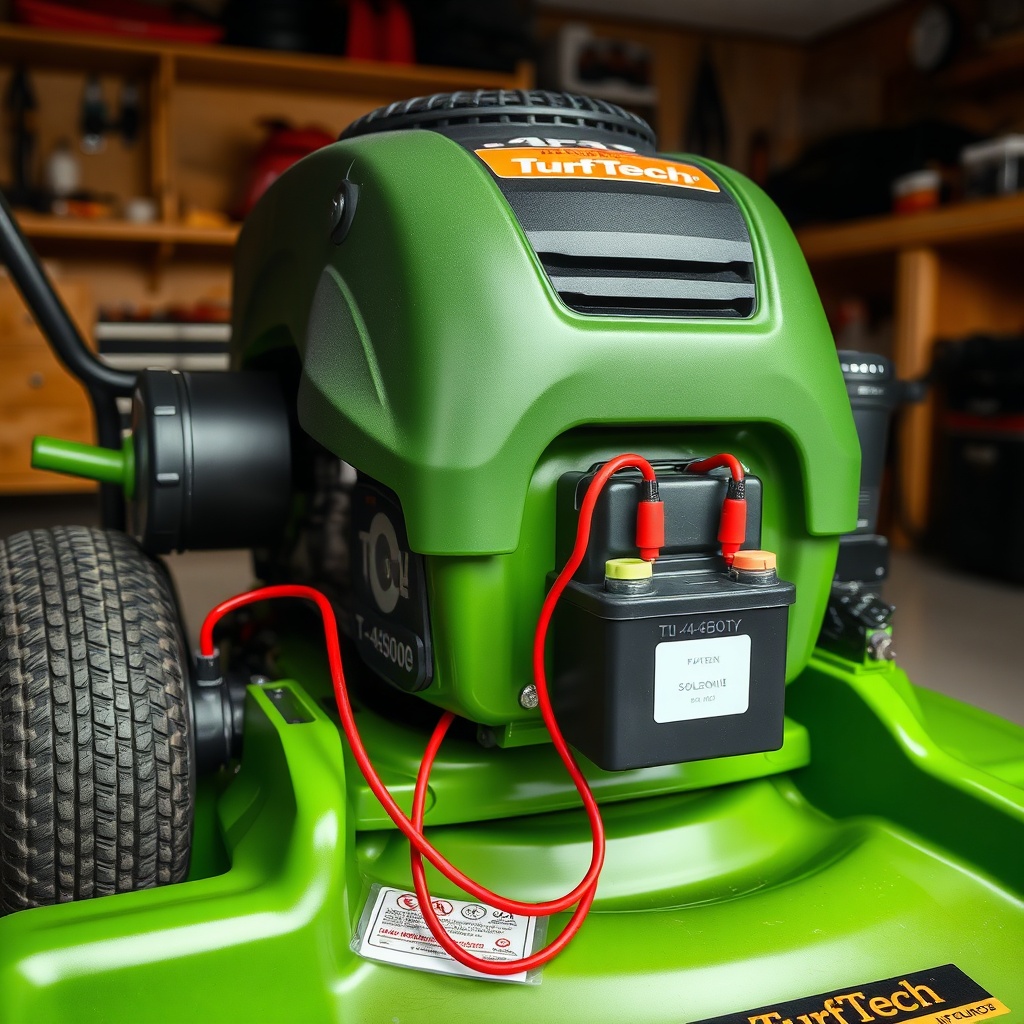
How to Install the New Solenoid Correctly?
Installation is the reverse of removal, but attention to torque values ensures long life. Overtightening can crack the solenoid’s plastic housing.
- Mount the new solenoid using the two M6 bolts. Torque to 10 Nm (7.4 ft-lb). Do not exceed 12 Nm.
- Connect the large battery cable to the B+ terminal. Torque the nut to 8 Nm (5.9 ft-lb).
- Connect the large starter cable to the M terminal. Torque to 8 Nm.
- Connect the small purple wire to the S terminal. Torque to 4 Nm (3 ft-lb).
- Connect the small blue wire (if present) to the I terminal. Torque to 4 Nm.
- Apply dielectric grease to each terminal after tightening to prevent corrosion.
- Reinstall the battery, bracket, and engine cowl. Connect the positive terminal first, then the negative terminal.
After installation, test the start function: turn the key to the run position, then to start. The solenoid should click once firmly, and the engine should crank. If the starter stays engaged, immediately turn off the key and recheck the M terminal wire—it may be touching the B+ terminal. For valve-related starting difficulties, read our valve lash adjustment guide.
What Owners Say About Solenoid Replacement on the T-4600E
Experienced TurfTech T-4600E owners on UK garden forums highlight a few recurring observations:
- “The OEM solenoid lasted three years before the contacts burned out. The aftermarket one with a rubber boot has held up for two seasons now.” — Graham from Norfolk
- “I thought my battery was dead. After charging and still no start, I jumped the solenoid with a screwdriver. It sparked but nothing happened. New solenoid cured it instantly.” — Sandra from Yorkshire
- “The hardest part was getting to the bolts. I had to remove the fuel tank bracket. Worth the £30 part though.” — Mark from Essex
- “Don’t buy the cheapest aftermarket solenoid. It melted after one heavy use. Spend the £35 on OEM.” — David from Hampshire
- “Pairing a new solenoid with a fresh battery fixed my intermittent starting. Now it fires every time.” — Helen from Kent
These testimonials emphasize the importance of terminal sealing and proper torque to prevent arcing. Most owners report a 45-minute job for first-timers, reducing to 20 minutes after experience.
Frequently Asked Questions (FAQ)
Can I bypass the solenoid to test it?
Yes. Use a heavy-duty screwdriver with an insulated handle to briefly bridge the two large terminals (B+ and M). If the starter spins, the solenoid is faulty. Only do this with the key off and the mower in neutral. Wear safety glasses—large sparks occur.
How much does a solenoid cost for the TurfTech T-4600E?
Prices range from £18.50 for generic aftermarket units to £42.00 for heavy-duty sealed versions. OEM TurfTech solenoids sell for approximately £34.99 online and at authorised dealers.
What tools do I need for solenoid replacement?
You need: 8mm, 10mm, and 13mm sockets or nut drivers; a flat-blade screwdriver (for prying); a torque wrench (optional but recommended); dielectric grease; and a clean rag. A multimeter helps verify voltage before starting.
How long does a solenoid last on average?
Under normal UK conditions (light rain, seasonal use), a TurfTech T-4600E solenoid lasts 3 to 5 years. Units exposed to moisture or frequent starting cycles may fail in 2 years. Upgrading to a sealed model extends life by 50%.
Will a bad solenoid drain the battery overnight?
Yes, if the solenoid’s contacts are stuck partially closed, it can create a parasitic draw of 50–100 mA. This drains a 12V/20Ah battery to zero in roughly 200 hours. Test for draw by disconnecting the negative battery cable and connecting a multimeter in series.
Can I use a solenoid from another brand?
Electrically, any 12V solenoid with matching terminal layout (B+, M, S, I) works. However, the mounting hole spacing (42mm centre-to-centre) is unique to TurfTech. You may need to drill new holes or use adapters. Sticking to T-4600E-specific parts avoids modification.