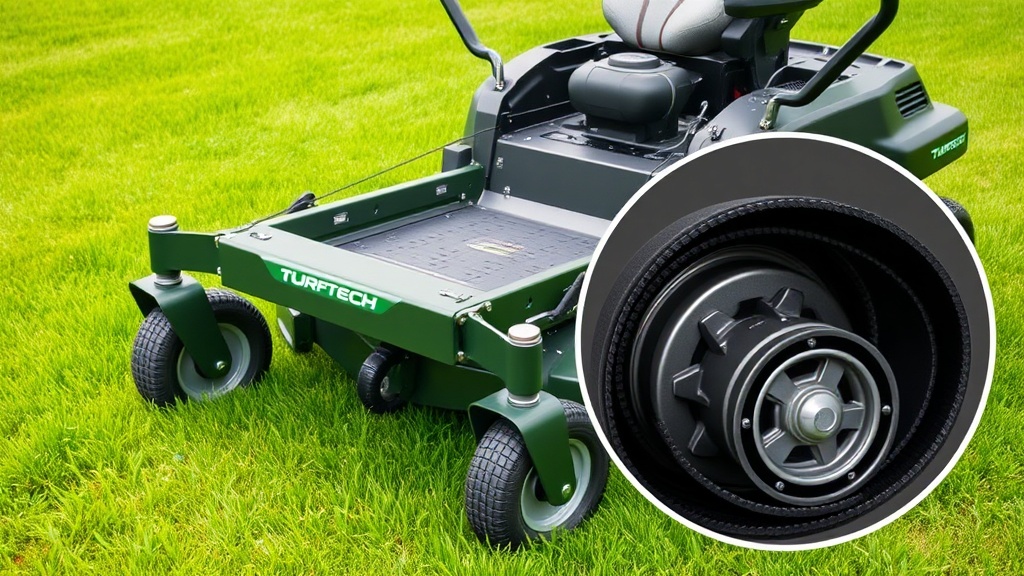
Introduction: Tackling Deck Belt Repair on the TurfTech T-4600E
For owners of the TurfTech T-4600E zero-turn mower, few issues cause as much frustration as a snapped or worn deck belt. The deck belt drives the cutting blades, and when it fails, mowing comes to a complete halt. This guide focuses on the correct deck belt routing diagram, a critical reference for anyone performing repairs or replacements. Without the proper path around the spindles, idlers, and pulleys, your mower will either fail to cut or risk damaging the belt and pulley system.
Understanding how to read and apply the TurfTech T-4600E deck belt routing diagram is essential for a successful repair. This guide breaks down each step, highlighting common pitfalls and offering practical advice. For other maintenance tasks, such as adjusting valve lash, see our article on TurfTech T-4600E OHV Valve Lash Adjustment: Step-by-Step Guide and Tips.
How Do I Locate the Correct Deck Belt Routing Diagram for My T-4600E?
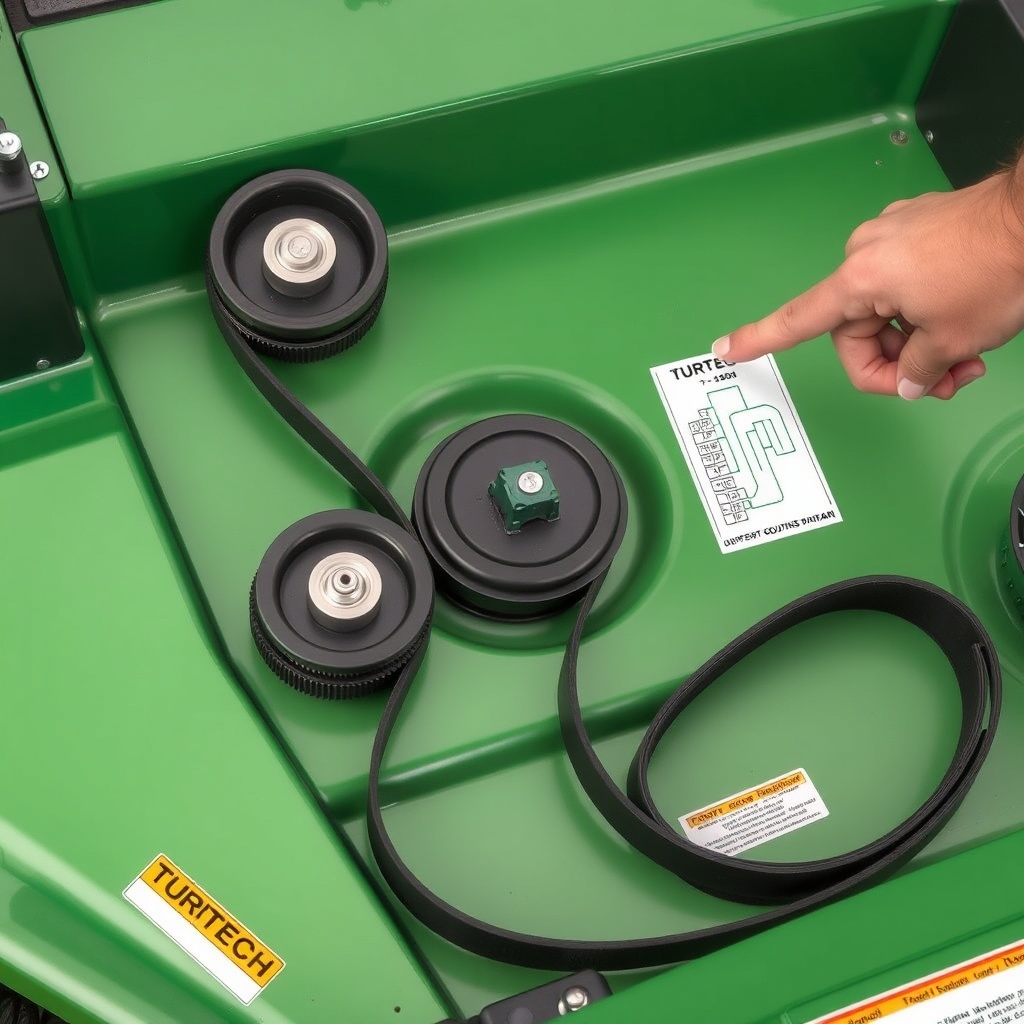
Before any repair, you need the accurate diagram. The TurfTech T-4600E often has a diagram sticker on the deck itself, typically near the blade spindle or on the left side of the deck housing. If the sticker is faded or missing, you can find it in the owner’s manual. Alternatively, many dealers provide a laminated card for common models.
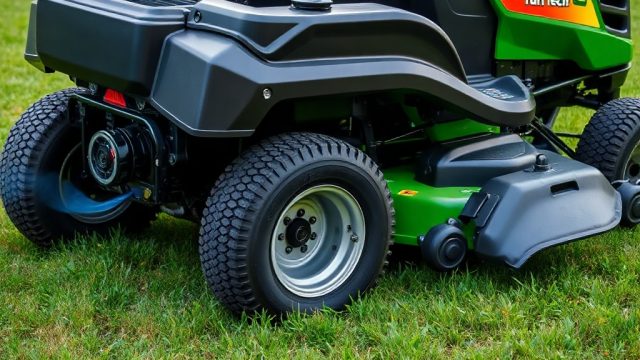
The routing diagram shows the belt path around three components: the two blade spindles (left and right), a spring-loaded idler pulley, a fixed idler pulley, and the electric clutch pulley on the engine crankshaft. The belt must travel inside certain guides and around specific grooves. A common error is routing the belt on the wrong side of the idler arm, which causes poor tension or belt slippage.
For a visual reference, here is a simplified representation of the belt path. Note that the belt travels from the left spindle (when viewed from the operator seat), around the fixed idler, then to the right spindle, then around the spring-loaded idler, and finally to the clutch pulley.
Important: Always ensure the belt is not twisted before tensioning. For electric start issues that may delay mowing, refer to TurfTech T-4600E Electric Start Battery Maintenance: Tips and Troubleshooting.
What Is the Step-by-Step Process for Routing the Deck Belt?
Follow these steps precisely to avoid damage or poor performance.
- Step 1: Disconnect the battery. Safety first. Disconnect the negative terminal to prevent accidental start.
- Step 2: Remove the deck. Lower the deck to its lowest setting. Disconnect the deck lift linkage and remove the belt from the electric clutch pulley. Slide the deck out from under the mower.
- Step 3: Examine the deck components. Clean debris from around the spindles and idlers. Check for worn bearings or damaged pulleys.
- Step 4: Position the new belt. Place the new belt (use a genuine TurfTech replacement for best fit) loosely around the pulleys. Do not force it.
- Step 5: Route around the right spindle. From the clutch pulley, guide the belt around the right-side blade spindle. Ensure it sits in the pulley groove.
- Step 6: Route around the fixed idler. Bring the belt to the fixed idler pulley (typically steel, no spring). The belt should go around the outside of this pulley.
- Step 7: Route around the left spindle. Guide the belt around the left spindle pulley.
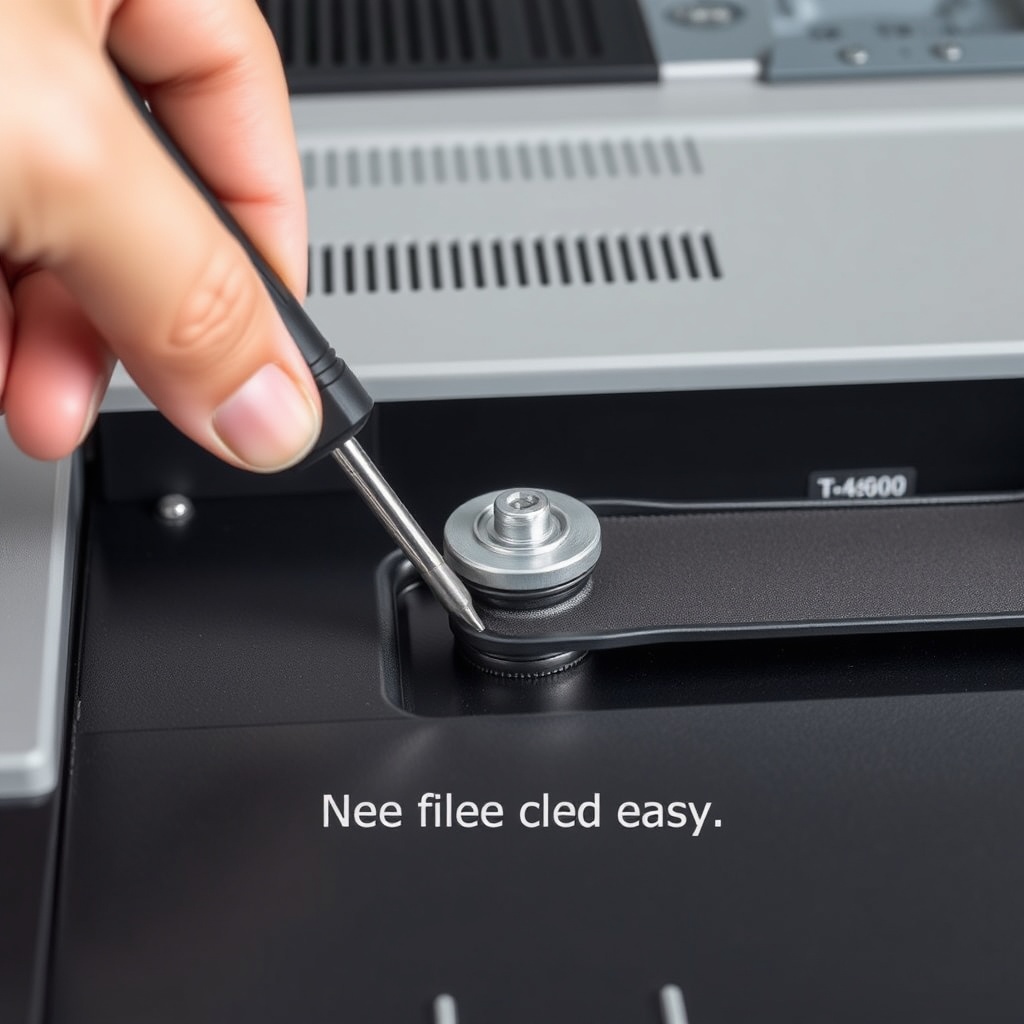
- Step 8: Engage the spring-loaded idler. Use a pry bar or a long screwdriver to rotate the idler arm and relieve tension. Slip the belt over the idler pulley. Release the arm slowly.
- Step 9: Route to the clutch pulley. Bring the belt up to the electric clutch pulley on the engine. Ensure it sits inside the pulley groove.
How Do I Adjust the Belt Tension After Routing?
Proper tension is critical for cutting performance and belt life. On the TurfTech T-4600E, tension is managed automatically by the spring-loaded idler after you manually relieve it during installation. However, you should verify correct engagement.
After routing, manually rotate the blade spindles by hand. The belt should feel snug but not overly tight. If the belt slips easily when you spin a spindle, the idler may be stuck or the spring is weak. Inspect the idler arm pivot for debris or rust. Lubricate with a spray lubricant if needed.
If the belt is too tight, you might have forced it onto a wrong groove or missed a pulley. Re-check the diagram. For electric start problems that may prevent operation after deck reassembly, see TurfTech T-4600E Electric Start Not Working: Diagnosis and Repair Guide.
| Issue | Symptom | Likely Cause | Troubleshooting Step |
|---|---|---|---|
| Belt too loose | Belt squealing, blades don’t engage fully | Idler stuck, spring weak, belt worn | Check idler arm movement; replace spring if slack |
| Belt too tight | Belt smoking, hard to turn spindles | Belt routed incorrectly, pulley misalignment | Re-check routing diagram; inspect pulley alignment |
| Belt coming off after routing | Belt slips off the idler or spindle | Missing guides, bent pulley, incorrect tension | Verify all belt guides are present; replace damaged pulleys |
What Are the Common Deck Belt Routing Mistakes on the T-4600E?
Even experienced owners can make a mistake. The most common errors include:
- Routing the belt on the wrong side of the spring idler. The belt must sit on the correct side of the idler arm—typically inside the arm for the spring-loaded pulley.
- Missing one of the idler pulleys. The T-4600E uses two idler pulleys. Forgetting the fixed idler causes improper belt path length.
- Twisting the belt. A twisted belt will cause vibration and rapid wear. Ensure the belt lies flat before tensioning.
- Using an incorrect belt size. Always use the specified TurfTech belt (part number often found on the deck sticker). An aftermarket belt may have a different length or width.
If you encounter a situation where the belt is not staying on after repair, check the spindle bearings. Worn bearings cause wobble, leading to belt ejection. For smoke issues that might occur after reassembly, read TurfTech T-4600E Smoke from Muffler: Troubleshooting and Guide.
What Owners Say About Deck Belt Replacement
Owners of the TurfTech T-4600E frequently praise the mower’s cutting performance but note that deck belt replacement can be tricky. One experienced owner on a lawn care forum stated, “The first time I replaced the belt, it took me an hour because the routing diagram is small. Now I can do it in 15 minutes by following the pulley order. The spring-loaded idler is the trickiest part.”
Another owner reported that after routing correctly, the belt lasted two full seasons with regular use. However, some caution that aftermarket belts often fail sooner than genuine TurfTech belts. A third owner mentioned that cleaning the deck after every use reduces belt wear significantly, as caked grass clippings cause friction and premature stretching.
Many owners recommend taking a photo of the old belt’s path before removal, especially if the diagram sticker is damaged. For electric start solenoid issues that may complicate deck removal, see TurfTech T-4600E Electric Start Solenoid Replacement: Step-by-Step Guide.
Frequently Asked Questions About TurfTech T-4600E Deck Belt Routing
1. What is the correct belt length for the TurfTech T-4600E deck? The OEM specified belt length is typically 92 inches, but confirm by checking the deck sticker or your owner’s manual.
2. How do I loosen the spring tension to install the belt? Use a pry bar to rotate the idler arm away from the belt path. This compresses the spring and creates slack. Release slowly after the belt is routed.
3. Can I replace the deck belt without removing the deck? It is possible but very difficult. Removing the deck provides better access to all pulleys and reduces the chance of misrouting. It is strongly recommended for first-timers.
4. Why does my new belt squeal after I install it? Squealing often means insufficient tension. Check if the idler arm is moving freely. Also, a new belt may need a short break-in period. If squealing persists, verify the belt is not twisted.
5. How often should I replace the deck belt? For residential use, inspect every 25 hours of operation. Replace every 100-150 hours or if you see cracking, glazing, or fraying.
6. What tool do I need to route the belt correctly? A pry bar (12-18 inches) and a pair of gloves are essential. Also, a socket set for deck removal and a flashlight to inspect pulley alignment.