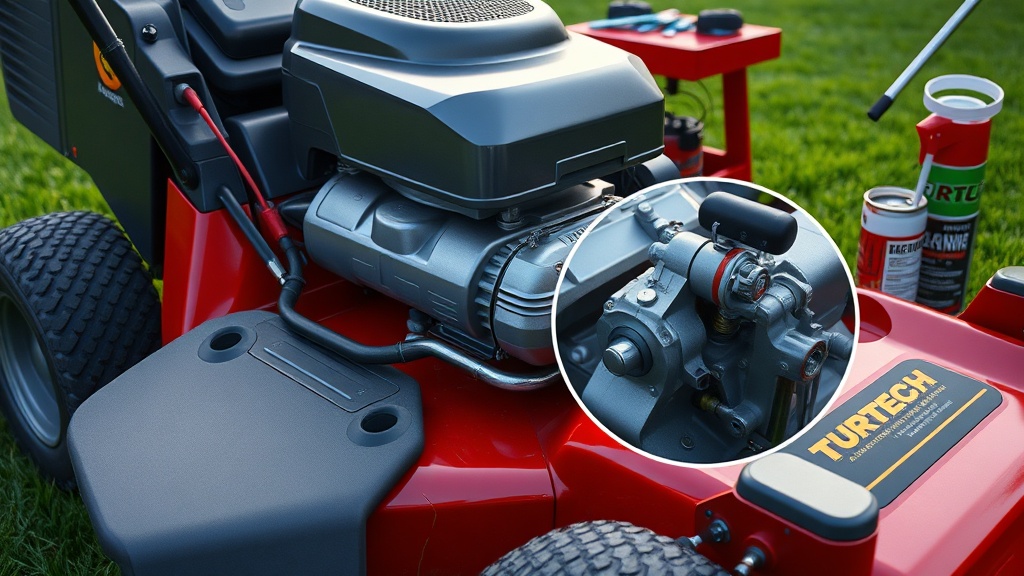
Why Does My TurfTech T-4600E Need a Carburetor Cleaning?
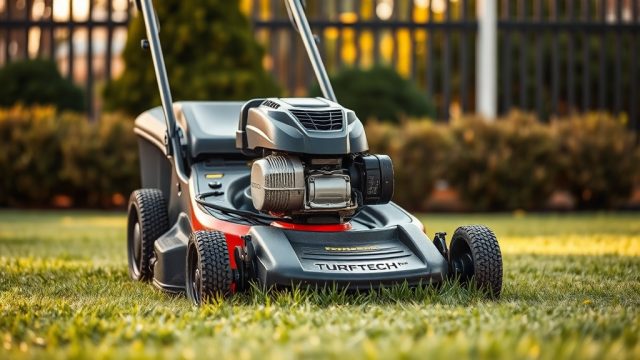
The TurfTech T-4600E is a robust self-propelled mower designed for medium to large lawns, but its OHV engine is sensitive to stale fuel, dirt, and ethanol deposits. Over time, these contaminants clog the carburetor’s jets, causing rough idling, hesitation, or failure to start. A thorough cleaning restores fuel flow and engine performance, often avoiding costly repairs. This guide provides a step-by-step approach for clearing the carburetor on a T-4600E, with practical tips for maintaining a reliable mower.
Before starting, gather a carburetor cleaning kit (with small wire brushes), a flat-head screwdriver, a 10mm socket wrench, compressed air (or a bicycle pump), and a clean container for parts. Always disconnect the spark plug wire for safety. For related engine care, see our engine oil type and change interval guide to keep the powerplant in top shape.
What Tools and Parts Are Required for Cleaning?
You will need the following items for a successful carburetor cleaning:
- Carburetor cleaner spray (non-chlorinated, safe for rubber seals)
- Small wire brushes (0.010–0.015 inch diameter for jets)
- Flat-head screwdriver (to remove the bowl retaining screw)
- 10mm socket wrench and ratchet (for mounting bolts)
- Compressed air (or a blow gun with low pressure, 40–60 psi)
- Clean container and lint-free cloth
- Replacement carburetor gasket (Part # T4600E-CBG; cost: $6–$9 USD)
- Optional: Inline fuel filter (Part # T4600E-FF; $4 USD)
Most of these items are available at hardware stores or lawn equipment retailers. For a complete parts list, consult your owner’s manual. If you suspect drive issues, review our self-propelled drive common problems and fixes.
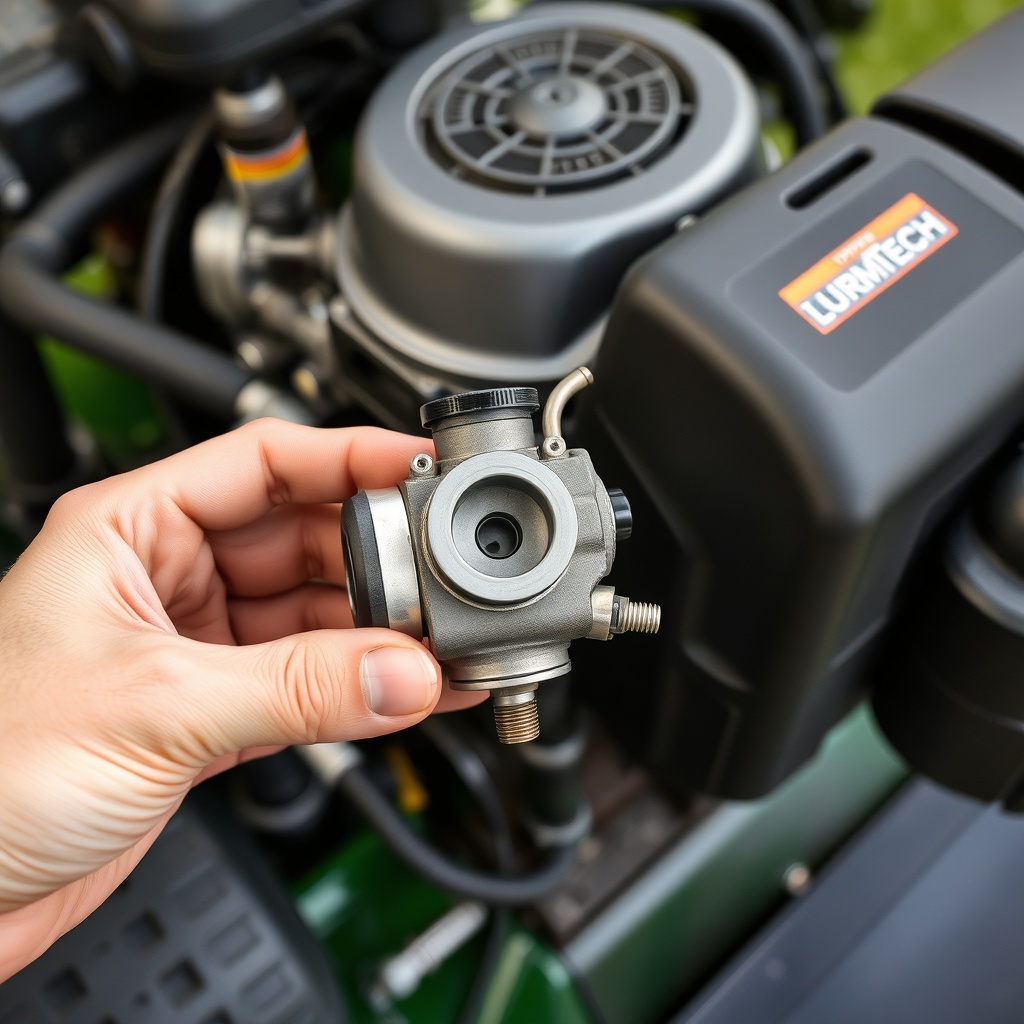
How Do I Access and Remove the Carburetor?
Follow these steps to safely remove the carburetor from the TurfTech T-4600E:
- Disconnect the negative battery terminal (if equipped with electric start) or remove the spark plug wire. Ensure the engine is cool.
- Place the mower on a flat, stable surface and tip it onto its left side (carburetor side up) to prevent oil spillage. Use a piece of wood to secure it.
- Using a flat-head screwdriver, loosen the hose clamp on the fuel line and slide it away from the carburetor. Then, disconnect the fuel line from the carburetor inlet. Use pliers to pinch the line to minimize fuel leakage if the tank is full. Carefully drain any remaining fuel into a container.
- Remove the two 10mm bolts securing the carburetor to the intake manifold. Gently wiggle the carburetor free from the manifold gasket.
- Detach the throttle cable by releasing the spring clip and sliding the cable out of the bracket. Mark or photograph the cable position for reassembly.
- Place the carburetor on a clean work surface, along with all hardware.
Be mindful of the gasket; if it’s torn, replace it. For more on engine issues, see our OHV engine overheating troubleshooting guide.
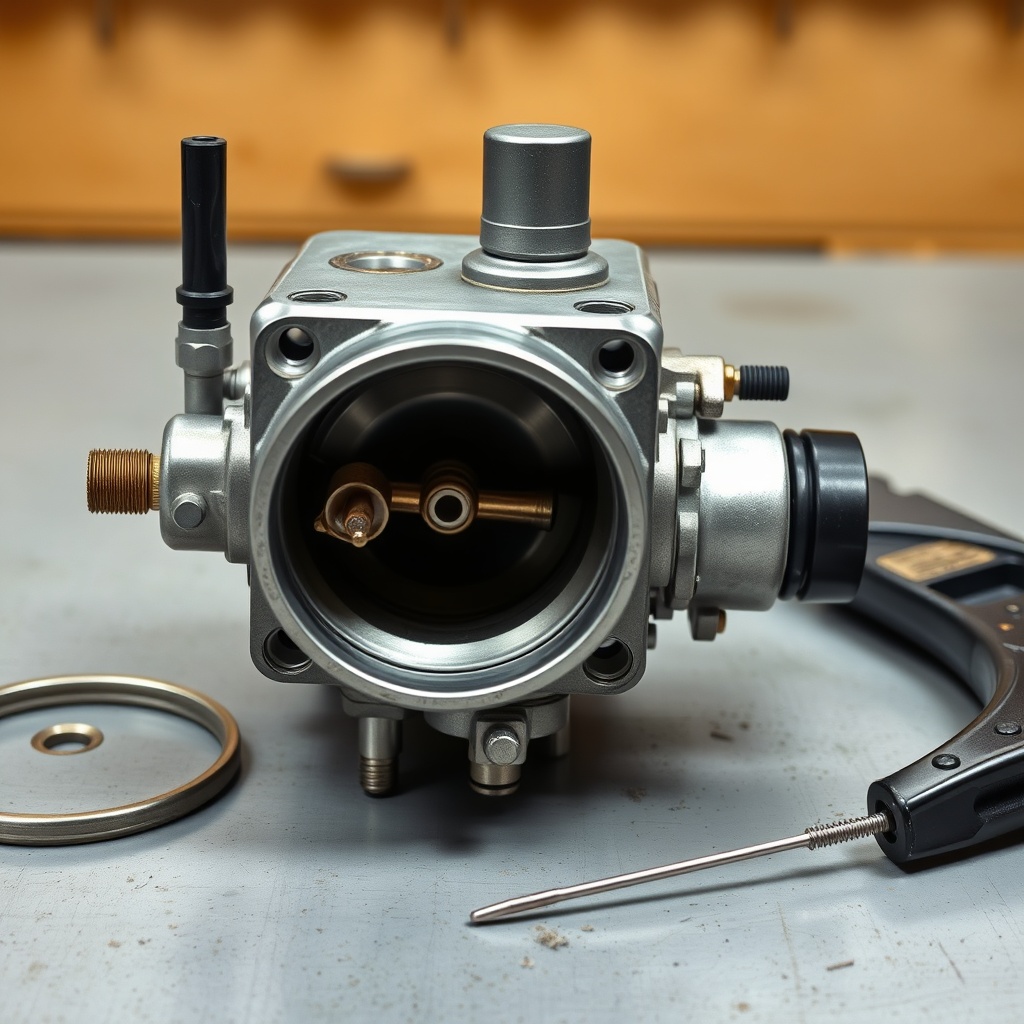
How to Disassemble and Clean Each Carburetor Component?
Now, disassemble and clean the carburetor parts thoroughly:
- Float bowl removal: Turn the carburetor upside down and use a flat-head screwdriver to remove the single screw in the center of the bowl. Carefully remove the bowl and the float assembly. Empty any fuel from the bowl into an absorbent rag.
- Clean the float bowl: Use carburetor cleaner and a soft brush to remove residue from the bowl interior. Check for corrosion—if pitted, replace the bowl (Part # T4600E-CB; $12 USD).
- Inspect the float and needle valve: The float should move freely. Clean the needle seat with a Q-tip and cleaner. Replace the needle valve if worn (Part # T4600E-NV; $5 USD).
- Remove main jet and idle jet: Using a small screwdriver, unscrew the main jet (usually in the center of the carburetor body) and the idle jet (smaller, near the bore). Soak them in carburetor cleaner for 15 minutes. Then, blow compressed air through each jet to dislodge debris.
- Clean the carburetor body: Spray cleaner into all passages—fuel inlet, air bleed holes, and the main bore. Use compressed air to push solvent through. For stubborn deposits, use a wire brush on the exterior.
- Reassemble: Install the cleaned jets, float bowl, and gasket. Tighten the bowl screw to 2–3 Nm (18–26 in-lbs).
Be patient—stubborn deposits may require a second soak. For belt-related issues, refer to our deck belt replacement guide.
What Are Common Signs of a Clogged Carburetor on the T-4600E?
| Severity Level | Symptom | Likely Cause | Cleaning Effect |
|---|---|---|---|
| Mild | Engine coughs or surges at idle | Partially blocked idle jet | Usually resolves after cleaning |
| Moderate | Engine hard to start; runs rich (black smoke) | Clogged main jet or float valve issue | Cleaning often restores fuel flow |
| Severe | Engine won’t start at all | Complete blockage in fuel passages | May require jet replacement |
| Critical | Leakage from carburetor | Damaged gasket or stuck float | Gasket replacement needed |
These symptoms can escalate if ignored. If cleaning doesn’t resolve a “no-start” condition, check the electric start conversion installation and benefits for battery-related issues.
How to Test and Reinstall the Carburetor?
After cleaning, follow these steps to test and reinstall the carburetor:
- Manual test: Before reinstalling, gently blow into the fuel inlet with your mouth (or use a low-pressure air source). You should feel air passing through the main jet and out the engine bore. If obstructed, repeat the cleaning.
- Reinstall the carburetor: Apply a thin coat of engine oil to the intake manifold gasket. Slide the carburetor onto the manifold studs. Tighten the two 10mm bolts to 8–10 Nm (70–88 in-lbs). Reconnect the throttle cable and adjust the spring clip.
- Reattach the fuel line: Push the fuel line onto the carburetor inlet until it stops. Secure the hose clamp. Reconnect the spark plug wire or battery terminal.
- Start the engine: Prime the carburetor by tapping the bulb (if equipped) or cranking the engine with the choke on for 5 seconds. Start the mower and let it idle for 2–3 minutes to purge any cleaner residue. If the engine runs smoothly, the cleaning was successful.
If you still experience rough running, consider adjusting the idle speed screw (turn clockwise to increase idle). For performance concerns, see the deck cutting height adjustment guide.
What Owners Say About Carburetor Cleaning
Owners of the TurfTech T-4600E report that carburetor cleaning is a routine maintenance task every 50–100 hours of operation. Many note that using ethanol-free fuel or a fuel stabilizer (like STA-BIL) extends intervals between cleanings. One owner on a discussion forum stated: “After cleaning the main jet with a wire brush, my T-4600E started on the first pull. It had been sitting with old gas for months.” Another shared: “I bought a replacement gasket for $8 and used compressed air—saved a $100 shop visit.” However, some caution against over-tightening the bowl screw, as it can strip the threads. The consensus: a carb clean is one of the most effective DIY repairs for this mower, especially after winter storage or when using fuel with high ethanol content (E10 or E15).
Frequently Asked Questions (FAQ)
Q1: How often should I clean the carburetor on my TurfTech T-4600E?
A1: For normal use (mowing 1–2 acres weekly), clean the carburetor every 50 operating hours or annually, whichever comes first. If you use ethanol-blended fuel (E10 or E15), clean it every 25–30 hours to prevent deposit buildup.
Q2: What if the carburetor cleaning doesn’t fix the rough idling?
A2: Check the idle mixture screw setting (usually 1.5 turns out from fully closed). Also inspect the air filter and spark plug. If the issue persists, the carburetor may need replacement (Part # T4600E-CRB; $35–$45 USD).
Q3: Can I use a carburetor dip cleaner for the T-4600E?
A3: Yes, but only remove the rubber gaskets and O-rings before dipping. Use a cleaner labeled for small engines. Soak for 10–15 minutes, then rinse with water and blow dry with compressed air. Aerosol cleaner is simpler for most owners.
Q4: Will cleaning the carburetor fix a stalled engine under load?
A4: Not always. A clogged carburetor can cause stalling under load, but also check the fuel filter, fuel pump, and air intake. If cleaning doesn’t help, inspect the self-propelled drive common problems for related issues.
Q5: What is the correct procedure to clean the float needle valve?
A5: Remove the float pin and lift out the needle valve. Clean the tip with a Q-tip dipped in carburetor cleaner. Use a gentle squeeze; do not bend the needle. If the tip is worn or has a groove, replace it (Part # T4600E-NV; $5 USD). Reinstall the float and check for movement.
Q6: Is it safe to leave the mower on its side during carburetor cleaning?
A6: Yes, but only tip it onto the side opposite the air filter and carburetor (left side when viewed from the operator position). This prevents oil from dripping into the air filter. Secure the mower with a block or board to avoid tipping—do not run the engine while tilted.