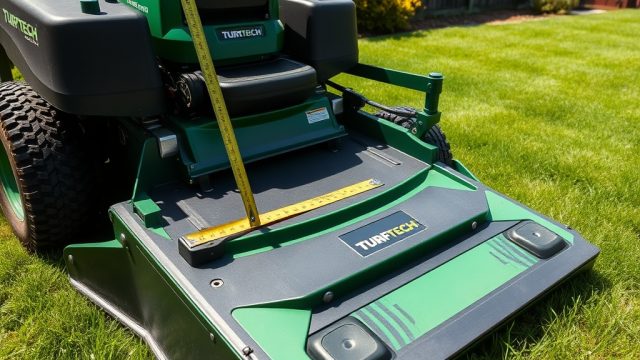
Introduction
Proper valve lash adjustment is essential for maintaining the performance and longevity of your TurfTech T-4600E mower’s overhead valve (OHV) engine. Over time, normal engine operation can cause the clearance between the valve stem and rocker arm to drift out of specification, leading to rough idling, power loss, and even engine damage. This comprehensive guide provides a step-by-step approach to checking and adjusting the valve lash on the TurfTech T-4600E, along with professional tips to ensure a precise and reliable tune-up.
What Tools and Materials Are Needed for Valve Lash Adjustment?
Before beginning the adjustment, gather the following tools and supplies. Using the correct equipment is critical to avoid damaging engine components.
| Tool | Specification | Purpose |
|---|---|---|
| Feeler gauge set | Metric set (0.05–1.00 mm) | Measure valve lash clearance |
| Socket wrench set | 8 mm, 10 mm, 12 mm sockets | Remove valve cover and rocker arm bolts |
| Torque wrench | Range 5–25 N·m (3.7–18.4 ft·lb) | Tighten bolts to specification |
| Flathead screwdriver | Medium size | Pry valve cover gasket |
| Rocker arm adjustment tool | Specialty T-4600E tool (optional) | Secure rocker arm during adjustment |
| Clean rag | Lint-free | Wipe oil and debris |
| Engine oil (SAE 10W-30) | Fresh, 0.5 liter | Lubricate valve stems and reassemble |
How Do You Safely Prepare the TurfTech T-4600E for Valve Adjustment?
Safety and proper preparation prevent accidental injury and ensure the engine is in the correct position for adjustment. Follow these steps carefully.
- Disconnect the battery: On the TurfTech T-4600E, remove the negative (black) cable first to prevent any electrical shorts. If you encounter issues with the electric start system later, refer to the TurfTech T-4600E Electric Start Not Working: Diagnosis and Repair Guide for troubleshooting.
- Allow the engine to cool: A hot engine can cause burns and inaccurate measurements. Wait at least 30 minutes after operation.
- Remove the spark plug wire: This prevents accidental ignition during cranking.
- Position the engine at top dead center (TDC) compression stroke: Rotate the flywheel manually using a socket on the crankshaft bolt. Align the timing mark on the flywheel with the stationary pointer. Confirm TDC by checking that both valves are closed (rocker arms loose). Mark the position with tape if needed.
- Clean the valve cover area: Use a rag to remove any grass clippings, dirt, or oil to prevent contaminants from entering the engine when the cover is removed.
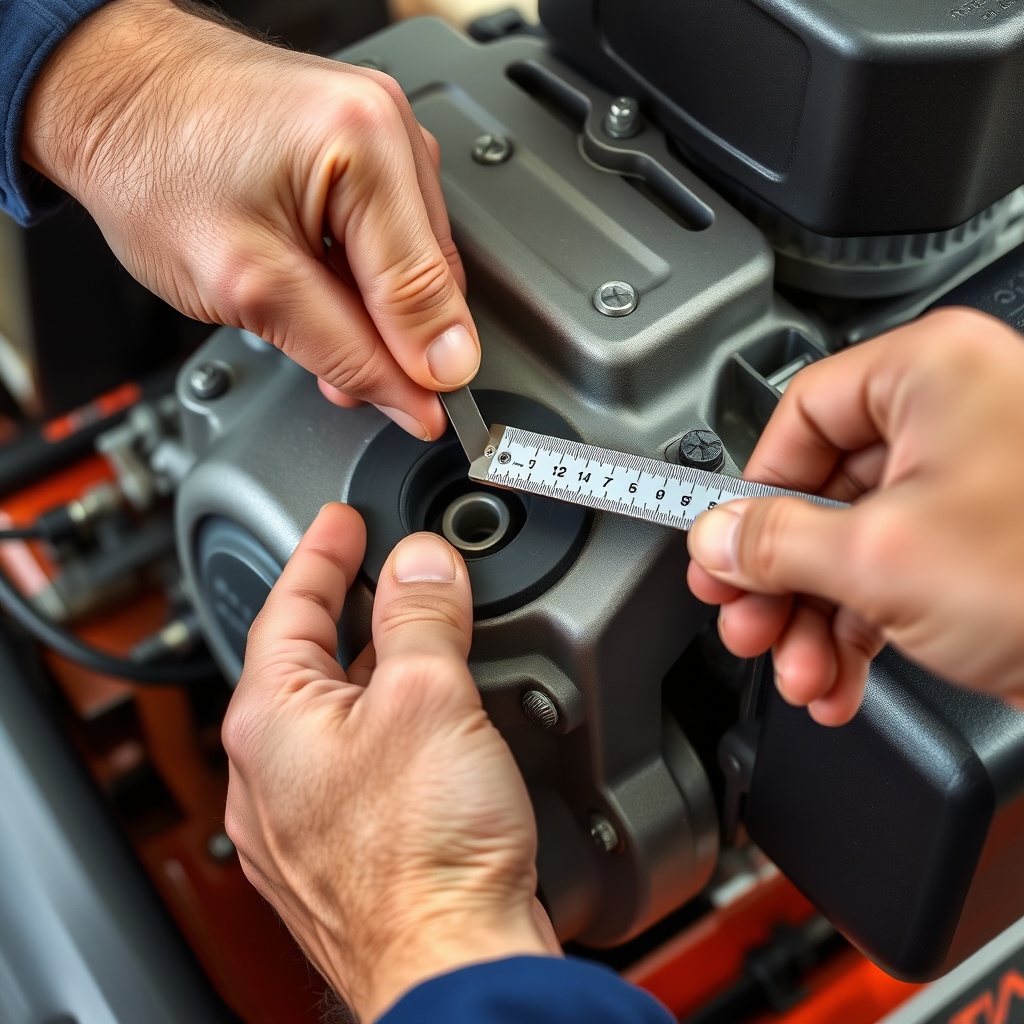
How Do You Access and Measure the Current Valve Lash?
Once the engine is prepared, removing the valve cover and measuring the existing clearance is straightforward. Use the factory specifications for the TurfTech T-4600E OHV engine: intake valve lash 0.10 mm (0.004 in) and exhaust valve lash 0.15 mm (0.006 in).
- Remove the valve cover bolts: Use an 8 mm socket to loosen the four bolts. Gently tap the cover with a rubber mallet if it sticks, then lift it off. Set aside the gasket for reuse if it is intact.
- Identify the intake and exhaust valves: Intake is usually nearer the air filter; exhaust is nearer the muffler. Consult your owner’s manual if unsure.
- Insert the feeler gauge: Place the appropriate thickness gauge between the valve stem tip and the rocker arm pad. For intake, use 0.10 mm; for exhaust, use 0.15 mm. The gauge should slide in with slight drag. If it is too tight or too loose, note the measurement.
- Record clearances: Write down the readings for both valves. Often, the exhaust valve will have worn more due to higher temperatures.
How Do You Perform the Valve Lash Adjustment Properly?
Adjusting the clearance requires careful manipulation of the rocker arm adjuster nut and locking nut. Follow this procedure for each valve.
- Loosen the locking nut: Use a 10 mm wrench to loosen the nut securing the rocker arm adjuster screw. Do not remove it completely.
- Adjust the screw: Turn the adjuster screw clockwise to decrease clearance or counterclockwise to increase it. Use the feeler gauge frequently to check progress.
- Hold the screw and tighten the locking nut: While maintaining pressure on the screw, torque the locking nut to 12 N·m (8.9 ft·lb) for intake and 14 N·m (10.3 ft·lb) for exhaust. Verify the clearance again after tightening.
- Repeat for the other valve: Ensure the engine remains at TDC compression. If you rotated the crankshaft, realign the timing mark.
- Lubricate the valve stems: Apply a drop of engine oil to each valve stem tip before reassembling the cover.
If you encounter difficulty reaching the adjustment due to the rocker arm geometry, consider using a rocker arm adjustment tool designed for the T-4600E. Over-tightening can cause valve burning; under-tightening leads to noisy operation, so precision is key.
What Problems Can Occur if the Valve Lash Is Incorrect?
Neglecting proper valve lash adjustment on the TurfTech T-4600E can lead to several performance and durability issues. Recognizing these symptoms helps prioritize maintenance.
- Excessive noise: A clattering sound from the engine top end indicates too much clearance, especially on the exhaust side.
- Loss of power: Tight valves reduce compression, causing reduced mowing performance and difficulty climbing slopes.
- Hard starting: Intake valves that are too tight can prevent proper air-fuel mixture entry, leading to crank-no-start conditions. If you experience starting issues after adjustment, check the TurfTech T-4600E Electric Start Not Working: Diagnosis and Repair Guide for electrical troubleshooting.
- Engine overheating: Exhaust valves that are too tight cannot close fully, causing hot exhaust gases to escape past the seat, leading to burned valves and pre-ignition.
- Smoke from the muffler: Misadjusted valves can cause incomplete combustion. For persistent smoke, see the TurfTech T-4600E Smoke from Muffler: Troubleshooting and Guide.
What Do Owners Say About Valve Lash Adjustment on the TurfTech T-4600E?
Experienced owners and small-engine mechanics frequently share insights about maintaining the OHV valve system on this mower. Common feedback highlights the importance of regular checks and careful technique:
- Frequency: Most owners recommend checking valve lash every 100 hours of operation or every season, whichever comes first. Many note that the exhaust valve tends to tighten over time more than the intake.
- DIY feasibility: A majority of users report that the adjustment is manageable with basic mechanical skills, though first-time adjusters often require a second attempt due to the locking nut loosening when torqued.
- Use of feeler gauges: Some owners prefer using a wire gauge instead of standard feelers for easier access in tight spaces.
- Common mistake: Forgetting to rotate the engine back to TDC after adjusting one valve is a frequent error, leading to incorrect clearances on the second valve.
- Aftermarket tips: Several forum discussions suggest upgrading the valve cover gasket to a reusable silicone type for easier maintenance.
Frequently Asked Questions
1. How often should I adjust the valve lash on my TurfTech T-4600E?
TurfTech recommends checking and adjusting valve lash every 100 hours of operation or once per mowing season to maintain optimal engine performance. For heavy-duty use, more frequent checks may be beneficial.
2. Can I use the same feeler gauge for both intake and exhaust valves?
Yes, if your feeler gauge set includes both 0.10 mm and 0.15 mm blades. Use a separate blade for each valve to avoid cross-contamination of oil or debris. Clean the gauge between measurements.
3. What happens if I overtighten the valve lash?
Overtightening reduces clearance, which can cause the valve to stay slightly open, leading to loss of compression and potential valve burning. This is especially damaging to the exhaust valve due to high operating temperatures.
4. Do I need to replace the valve cover gasket every time?
If the original gasket is in good condition (no cracks, distortion, or hardening), it can usually be reused. However, many owners prefer to install a new gasket during each adjustment to prevent oil leaks. TurfTech recommends replacement if the gasket shows any signs of wear.
5. My engine still runs rough after adjustment. What should I check next?
First, verify the valve lash again after two hours of operation, as components may settle. If roughness persists, inspect the fuel system. A dirty carburetor or clogged fuel line can cause similar symptoms; refer to the TurfTech T-4600E Fuel System Cleaning: Step-by-Step Guide and Tips. Also, check the deck belt routing as a misaligned belt can add load and affect idle quality; see the TurfTech T-4600E Deck Belt Routing Diagram: Step-by-Step Guide.
6. Is it possible to adjust the valves without removing the carburetor?
Yes, the valve cover is accessible without removing the carburetor on the TurfTech T-4600E. However, you may need to detach the air filter housing for better access. If your electric start solenoid is in the way, see the TurfTech T-4600E Electric Start Solenoid Replacement: Step-by-Step Guide for relocation tips.