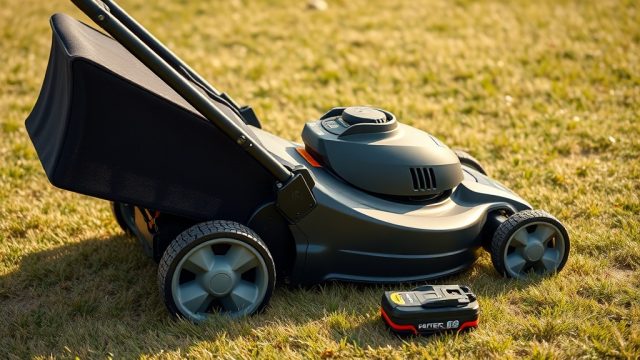
If your Honda HRX217’s self-propel drive stops pulling evenly or feels sluggish, the culprit is often a simple cable adjustment rather than a major mechanical failure. The drive cable controls the tension on the transmission pulley, and over time, it stretches or slips out of position. With a few tools and a clear process, you can restore consistent self-propel action and avoid an expensive service bill.
How Do I Know If My Honda HRX217 Self-Propel Cable Needs Adjustment?
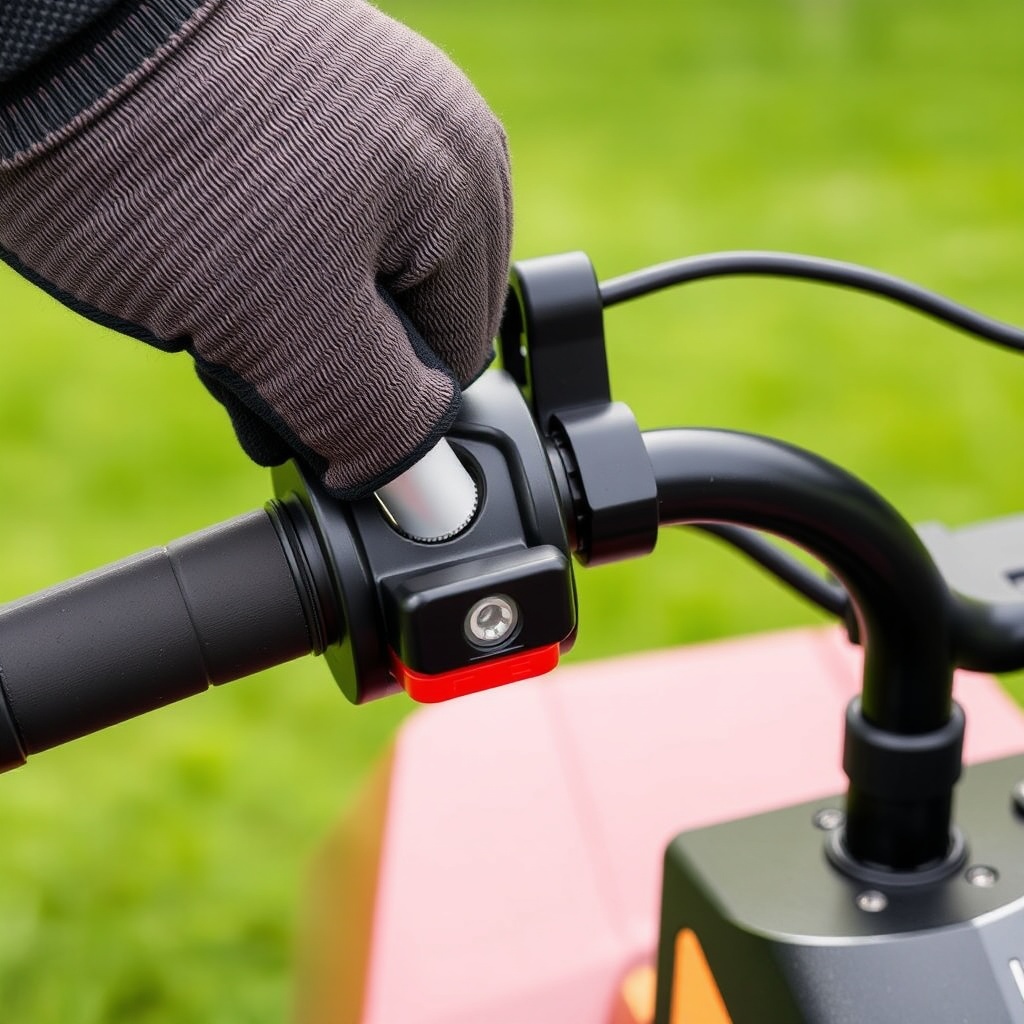
The most common symptom is a self-propel lever that feels loose or requires excessive travel before engaging the drive wheels. You might also notice that the mower surges forward intermittently or fails to pull evenly on slopes. Before diving into repairs, check the cable’s outer sheath near the handlebar—if it’s kinked or frayed, replacement is the safer route. For simple slack, a turn of the cable adjuster (located on the left side of the handlebar bracket) by 1–2 full turns clockwise usually tightens the cable enough to restore proper engagement. If the wheels still don’t respond after adjustment, the inner cable may have stretched beyond its useful range, requiring a replacement cable kit (part number 21610-VH2-820, about £12–£15).
What Tools and Parts Will I Need for the Adjustment?
Adjusting the drive cable on the HRX217 requires only basic tools: a 10 mm socket or wrench, a Phillips-head screwdriver, and a pair of needle-nose pliers. For a full cable replacement, you’ll also need the replacement cable (Honda part 21610-VH2-820) and a cable tie or zip tie for routing. Most owners find the adjustment takes about 20 minutes, while a full cable swap runs closer to 45 minutes. No special lubricants are required—the cable is pre-greased at the factory, but a dab of white lithium grease on the cable end after installation can extend its life.
| Symptom | Severity Level |
|---|---|
| Lever feels loose but wheels still engage | Usually not urgent—adjustment can wait until next mow |
| Wheels slip or don’t engage at all | Needs attention soon—can damage transmission if ignored |
| Cable outer sheath frayed or split | Needs attention soon—replace before further use |
| Self-propel surges or chatters | Usually not urgent—probably cable tension, but check pulley alignment |
How Do I Access the Drive Cable on the Honda HRX217?
The drive cable runs from the self-propel lever on the handlebar down to the transmission housing near the rear axle. To access the cable endpoints, start by removing the handlebar grip cap (a plastic cover held by two Phillips screws). Next, detach the self-propel lever by removing the 10 mm bolt that holds its pivot. Slide the lever off and you’ll see the cable loop at the base. At the transmission end, you’ll need to remove the rear cover (four 10 mm bolts) to expose the bracket where the cable attaches. On newer HRX217 models (2016 and later), the cable attaches via a spring clip; older models use a simple clevis pin. Spray the clip with penetrating oil if it’s rusted—forcing it can crack the plastic bracket.
Once the cable is detached at both ends, route the new cable along the same path as the old one, ensuring it doesn’t pinch against the engine or fuel lines. Secure it with the included cable tie around the handlebar tube. Reattach the lever and bracket, then apply initial tension by turning the adjuster knob until the cable is just snug—don’t overtighten, as this can cause premature wear on the transmission belt.
What Is the Exact Cable Adjustment Procedure for the HRX217?
After reattaching the cable, the adjustment procedure is straightforward. With the engine off and the mower on a flat surface, follow these steps:
- Loosen the cable adjuster locknut (10 mm) on the handlebar bracket.
- Turn the adjuster clockwise until you feel slight resistance when pulling the self-propel lever about one-third of its travel.
- Release the lever—it should return to neutral without sticking.
- Tighten the locknut while holding the adjuster in place.
- Test by pushing the mower forward by hand—the wheels should turn freely in neutral. With the lever engaged, they should lock firmly (you’ll feel drag).
- If the wheels still slip, repeat the adjustment with an extra quarter turn. Never exceed three full turns from the initial snug point—beyond that, the cable may snap or the transmission pulley may bind.
After adjustment, run the mower on a flat driveway for 10 seconds. The self-propel should engage smoothly without jerking. If you hear a clicking noise, the cable is too tight—back it off a half turn. Many owners report that a yearly check of cable tension during spring maintenance keeps the self-propel system trouble-free.
How Do I Replace the Drive Cable If Adjustment Fails?
If adjustment doesn’t resolve the issue, the inner cable may have frayed or snapped internally. To replace, you’ll need the same tools listed earlier plus the new cable. First, remove the old cable by detaching it from the lever and the transmission bracket. Slide the cable out of its sheath, noting that the sheath is integrated into the cable assembly—no separate parts. Install the new cable by reversing the removal steps. At the transmission end, make sure the cable end fits snugly into the groove of the pivot arm. Reattach the spring clip or clevis pin, then route the cable along the handlebar, taking care not to pinch it against the metal frame. Secure the cable with the supplied tie at the handlebar tube. Finally, perform the adjustment procedure above. A common mistake is routing the cable on the wrong side of the handlebar—always follow the original path to avoid binding.
Note that some HRX217 models (particularly the VYA versions) have a slightly different cable bracket design—order part 21610-VH2-820 for most 2010+ models. If you have an earlier model (2005–2009), use part 21610-VH2-800. Verify your mower’s serial number with a Honda dealer to be certain.
What Do Owners Say About the HRX217 Self-Propel Cable?
Long-term HRX217 owners consistently note that the drive cable adjustment is one of the easiest DIY tasks on the mower. “I’ve had my HRX217 for six years, and I tighten the cable adjuster every spring—takes five minutes and solves any sluggishness,” reports one owner on a gardening forum. Another common observation is that after a few seasons, the inner cable can stretch enough that adjustment alone won’t cut it: “I replaced my cable last summer after the fifth adjustment didn’t help. The new cable made it feel like a new mower.” A third owner mentions that “if you let the cable get too loose, the transmission belt can slip and overheat—caught mine just in time.” Overall, the consensus is that regular adjustment is important, but don’t hesitate to replace the cable every three to four years.

Frequently Asked Questions
How often should I adjust the self-propel cable on my Honda HRX217?
Most owners adjust it once a year during spring maintenance, or whenever the self-propel lever feels loose. If you mow frequently on hilly terrain, check it every six months.
Can I use a generic cable instead of Honda OEM part?
It’s possible, but the cable length and sheath diameter are specific to the HRX217. Generic cables often don’t fit the handlebar bracket correctly, causing premature wear. Stick with Honda part 21610-VH2-820 for reliable results.
What happens if I overtighten the drive cable?
Overtightening can cause the transmission belt to slip or the cable end to snap. It may also make the self-propel engage even when the lever is released, a dangerous condition that can cause runaway. Always adjust to slight resistance, not full tension.
Why does my HRX217 self-propel only work in forward, not reverse?
The HRX217’s self-propel is forward-only by design—reverse is manual push. If you’re experiencing issues in reverse, it’s not a cable problem. Check the rear axle bearings or grass buildup on the wheels.
Can I lubricate the drive cable to fix stiffness?
Yes, spraying a dry silicone lubricant into the cable sheath can help if the cable feels gritty. Avoid oil-based lubes, as they attract debris. But if the cable is already frayed, lubricant is only a temporary bandage—replace the cable.
Do I need to remove the engine to replace the drive cable?
No. The cable routes externally along the handlebar and deck. It can be replaced without removing the engine or blade. The hardest part is reaching the transmission bracket’s spring clip—use needle-nose pliers and a flashlight.
If you’re also fine-tuning the engine that powers your HRX217, see our guide on Honda HRX217 GCV190 Engine: Tuning and Performance Tips for carburetor and air filter adjustments. And if you’re deciding between mowers, check out Honda HRX217 vs Toro Recycler 22: Which Mower Offers Better Cut Quality? For those who want the best cut finish, read about the Honda HRX217 MicroCut Quad Blade System: Advantages and Maintenance.