Why Valve Lash Adjustment Matters for the TurfTech T-4600E
Overhead valve (OHV) engines like the TurfTech T-4600E rely on precise valve clearance for efficient combustion and reliable power delivery. When valve lash drifts out of specification, owners often notice a ticking noise, reduced engine performance, or hard starting. This guide provides a step-by-step procedure to check and adjust valve lash on the TurfTech T-4600E, covering tools, specifications, and common pitfalls. Proper adjustment not only restores smooth operation but also prevents long-term damage to valves and camshaft components.
What Tools and Materials Do I Need for Valve Lash Adjustment?
Before starting, gather the following items. Using the correct tools ensures accurate adjustment and avoids stripping fasteners.
- Feeler gauge set (metric and imperial; 0.10 mm–0.25 mm range recommended)
- 10mm combination wrench or socket wrench
- 12mm socket for crankshaft bolt (if needed for rotation)
- Torque wrench (range 5–20 Nm)
- Flathead screwdriver (small, for prying or holding)
- Clean rag and penetrating oil
- Owner’s manual or service sheet for TurfTech T-4600E
- Safety glasses and gloves
If you haven’t already, consider reading our TurfTech T-4600E Spark Plug Replacement: Step-by-Step Guide and Tips to ensure the ignition system is also in top shape before adjusting valves.
What Is the Correct Valve Lash Specification for the TurfTech T-4600E Engine?
Valve lash specifications vary by engine temperature and manufacturer. For the TurfTech T-4600E OHV engine, always adjust when the engine is cold (room temperature, below 30°C). The following table lists the recommended clearances for intake and exhaust valves.
| Valve | Cold Clearance (mm) | Cold Clearance (inches) | Notes |
|---|---|---|---|
| Intake | 0.10–0.15 mm | 0.004–0.006 in | Set to 0.13 mm for optimal idle |
| Exhaust | 0.15–0.20 mm | 0.006–0.008 in | Set to 0.18 mm for best performance |
If you are servicing a high-hour engine or one that has overheated, check our TurfTech T-4600E OHV Engine Overheating: Troubleshooting and Prevention to rule out root causes before adjusting lash.
How Do I Prepare the Engine for Valve Lash Adjustment?
Preparation is critical for safety and accuracy. Follow these steps in order:
- Park the mower on a level surface and engage the parking brake.
- Disconnect the spark plug wire to prevent accidental starting.
- Allow the engine to cool completely—at least 30 minutes after last use.
- Remove the valve cover by unscrewing the bolts (typically 10mm). Clean any debris around the cover before removal.
- Rotate the engine to top dead center (TDC) on the compression stroke. Use a socket on the crankshaft bolt (12mm) and turn clockwise until both valves are fully closed. The piston should be at the top of its stroke. Confirm by checking that both rocker arms are loose.
- Mark the flywheel timing mark if visible (often a notch or TDC mark).
If you are also performing other maintenance, consider the TurfTech T-4600E Electric Start Conversion: Installation and Benefits to upgrade the starting system simultaneously.
What Is the Step-by-Step Valve Lash Adjustment Procedure?
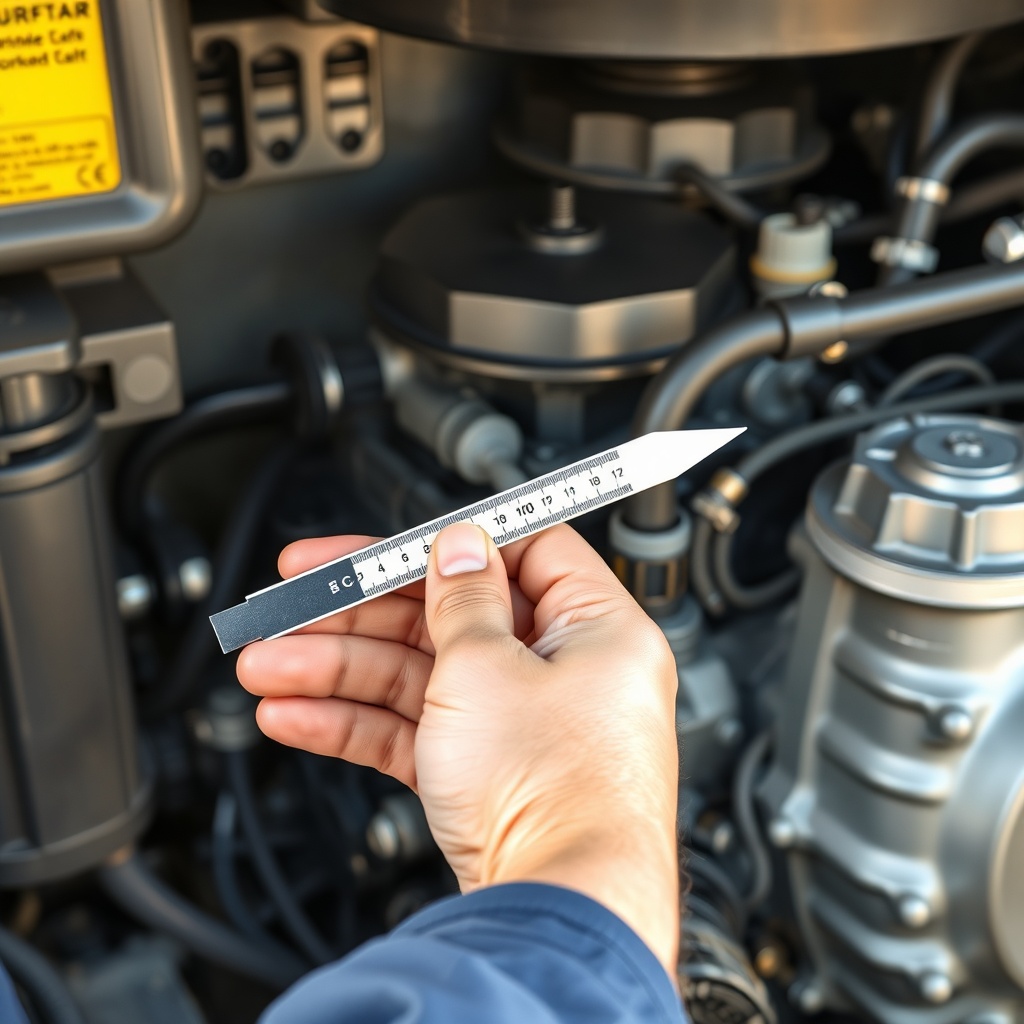
Step 1: Measure the Existing Clearance
- Insert the appropriate feeler gauge between the valve stem and rocker arm for the intake valve (0.13 mm recommended).
- Slide the gauge in and out; you should feel a light drag—not too tight, not too loose.
- If the gauge does not fit, the clearance is too tight. If it slides with zero resistance, it is too loose.
- Repeat for the exhaust valve (0.18 mm).
Step 2: Adjust the Clearance
- Loosen the locknut (10mm) on the rocker arm adjuster screw.
- Turn the adjuster screw clockwise to decrease clearance, counterclockwise to increase it.
- Recheck with the feeler gauge after each small turn.
- Tighten the locknut to 8 Nm (6 ft-lb) while holding the adjuster screw stationary.
- Re-measure to confirm the clearance has not shifted.
Step 3: Repeat for Both Valves
- Always adjust one valve at a time, keeping the engine at TDC.
- After both valves are set, manually rotate the engine two full revolutions and recheck clearances. If they changed, there may be a bent pushrod or worn camshaft.
Step 4: Reassemble
- Clean the valve cover gasket surface and install a new gasket if old one is damaged.
- Torque valve cover bolts to 10 Nm (7.5 ft-lb) in a crisscross pattern.
- Reconnect the spark plug wire.
For deck-related adjustments, see our TurfTech T-4600E Deck Cutting Height Adjustment: Step-by-Step Guide to ensure the entire mower is properly tuned.
What Are Common Mistakes During Valve Lash Adjustment?
Even experienced technicians can misstep. Avoid these frequent errors:
- Adjusting on a hot engine: Clearances change with thermal expansion; always use cold specifications.
- Forgetting to set TDC on compression stroke: If the engine is on the exhaust stroke, one valve will be partially open, leading to incorrect readings.
- Overtightening locknuts: This can strip threads or deform the rocker arm. Use a torque wrench.
- Using wrong feeler gauge thickness: Mixing metric and imperial can result in a 0.025 mm error. Stick to one system.
- Skipping final rotation check: Valves may seat differently after rotation, especially on high-mileage engines.
If the engine still runs poorly after adjustment, inspect the carburetor. Our TurfTech T-4600E Carburetor Cleaning: Step-by-Step Guide and Tips covers cleaning and tuning for optimal fuel delivery.
What Owners Say About Adjusting Valve Lash on the TurfTech T-4600E
TurfTech T-4600E owners consistently report that valve lash adjustment resolves persistent ticking noises and rough idling. Many note that after setting clearances to factory specs, the engine starts more easily and pulls through thick grass with noticeably less strain. One owner, who logged over 300 hours on a single machine, shared that the adjustment reduced oil consumption by roughly 20%—attributed to better combustion sealing. Another owner highlighted the importance of using a torque wrench on the locknuts; hand-tightening alone led to two adjustments failing within 10 hours of operation. A common sentiment is that the procedure is straightforward for anyone comfortable with basic engine work, though the TDC location can be tricky on early production models. Some owners recommend marking the flywheel with a paint pen for future reference. Overall, the valve lash adjustment is viewed as essential third-year maintenance—costing less than $10 in tools (around £8) but preventing major repairs.
Frequently Asked Questions (FAQ)
Q: How often should I check valve lash on my TurfTech T-4600E?
A: TurfTech recommends checking valve lash every 200 operating hours or at the beginning of each mowing season. If you notice a ticking sound or poor performance, check it sooner.
Q: Can valve lash adjustment cure hard starting?
A: Yes, if the clearance is too tight, valves may not seal fully, compressing the cylinder and causing starting difficulty. Adjusting to spec often resolves this.
Q: Will adjusting valve lash increase engine power or speed?
A: It restores correct timing, which can improve throttle response and overall efficiency, but it will not increase maximum horsepower beyond the factory rating.
Q: Do I need to replace the valve cover gasket every time?
A: Not necessarily. If the gasket is pliable and not cracked, you can reuse it. However, a new gasket costs around £5 ($7) and ensures a leak-free seal.
Q: What happens if I set valve lash too tight?
A: Excessively tight clearance can cause valves to stay slightly open, leading to compression loss, backfiring, and potential valve or piston damage. Always err toward the loose end of the spec.
Q: Can I adjust valve lash without removing the engine from the mower?
A: Yes. On most TurfTech T-4600E installations, you can access the valve cover without pulling the engine. However, remove the battery and air filter housing for easier clearance.