Why Does the TurfTech T-4600E Brake System Need Adjustment?
The TurfTech T-4600E is a robust zero-turn rider designed for residential and light commercial use. Over time, the brake system can develop slack due to cable stretch, pad wear, or pivot point corrosion. A poorly adjusted brake not only compromises safety but can also lead to premature wear of the brake pads and rotors. This guide provides a step-by-step process to restore proper brake function, ensuring you maintain control on slopes and during emergency stops. For complementary maintenance, see our guide on deck belt tension adjustment.
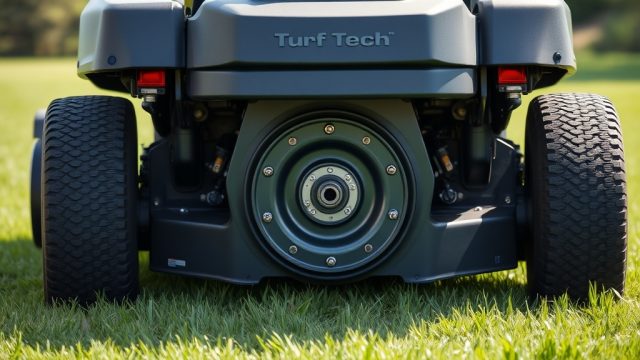
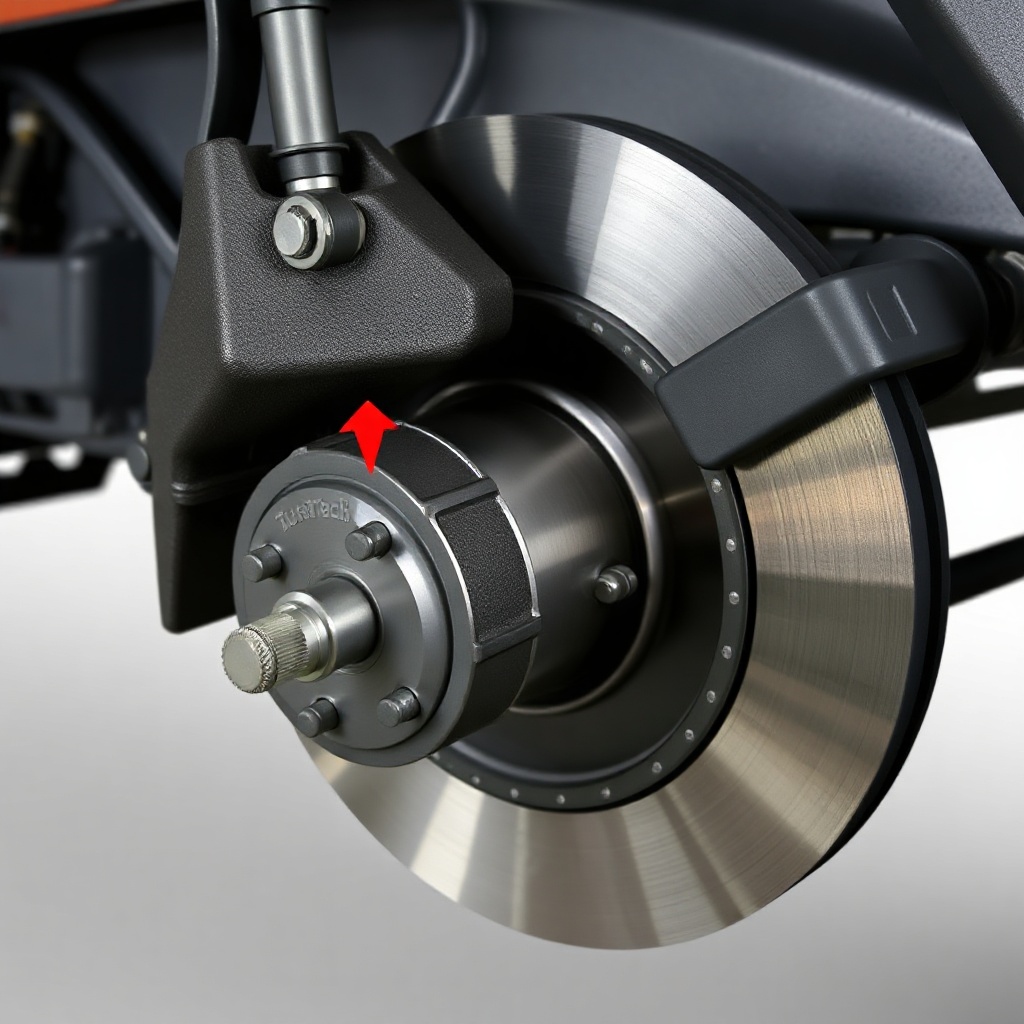
The brake system on the T-4600E uses a mechanical cable-actuated disc brake on each rear wheel. The primary adjustment point is at the brake handle assembly near the left side of the operator seat, though fine-tuning can also be done at the calipers. Signs that adjustment is needed include the brake handle pulling more than halfway to the control panel before engaging, excessive free play in the pedal, or the mower creeping forward when the brake is engaged.
What Tools Are Required for Brake Adjustment?
Before starting, gather the following tools and materials. Most are common items available at any hardware store. Having the correct tools will make the job faster and safer.
- 10mm combination wrench
- 13mm combination wrench
- Pliers (locking or standard)
- Wire brush or small steel wool pad
- Penetrating oil (e.g., WD-40 or PB Blaster)
- Safety glasses and work gloves
- Optional: Brake cleaner spray and shop rags
Note: The T-4600E uses metric fasteners on the brake linkage. Do not substitute imperial tools as they may strip bolt heads.
How Do You Access and Inspect the Brake Mechanism?
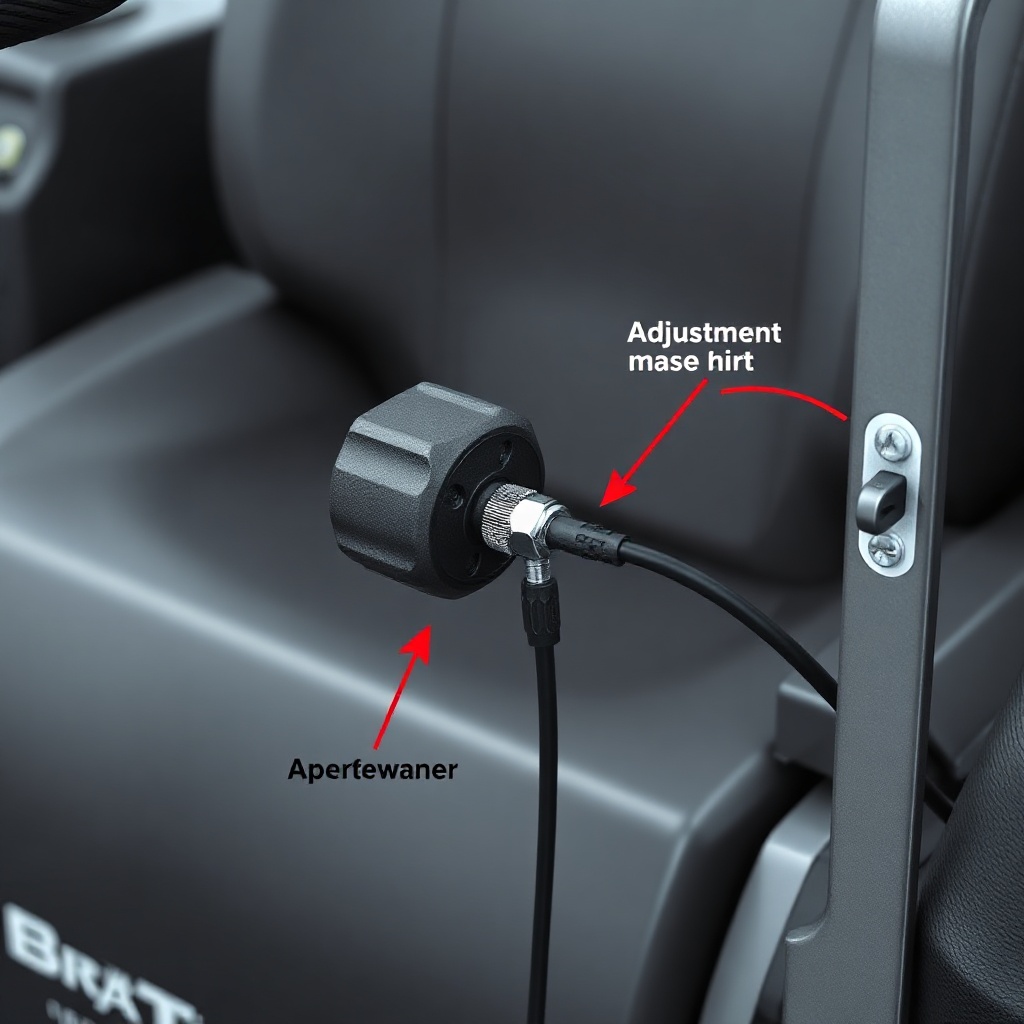
Start by parking the mower on level ground, engaging the parking brake, and turning off the engine. Remove the ignition key for safety. The primary adjustment point is underneath the control panel, near the left steering lever. Remove the two screws securing the control panel cover using a Phillips-head screwdriver. Lift the cover carefully, noting the routing of control cables.
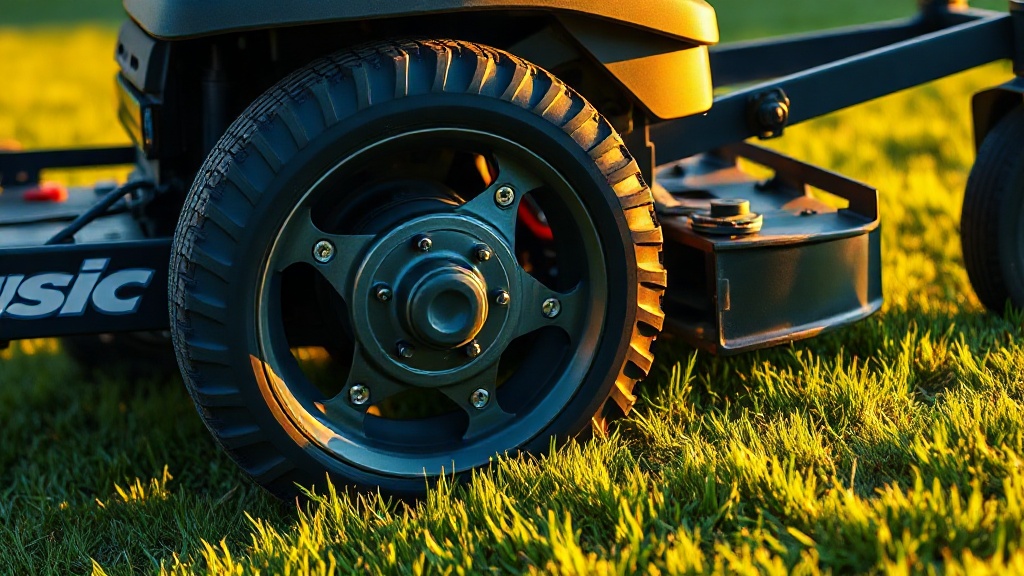
Inspect the brake cable for fraying, kinks, or corrosion at the cable ends. Check the brake caliper at each rear wheel. Remove the rear wheel nuts (19mm socket) and pull the wheels to expose the disc and caliper. Use a wire brush to clean any rust buildup on the disc surface. If the disc is heavily scored or warped, replacement may be necessary before adjustment. For related engine issues, see engine oil leak diagnosis.
What Is the Step-by-Step Brake Cable Tension Adjustment Procedure?
Follow these steps to adjust the brake cable tension at the handle. This is the primary adjustment and should resolve most slack issues.
- Locate the adjustment nut: At the base of the brake handle, you’ll see a threaded rod with a jam nut and an adjustment nut. The rod connects to the brake cable.
- Loosen the jam nut: Use a 10mm wrench to loosen the jam nut that locks the adjustment nut in place. Turn it counterclockwise.
- Turn the adjustment nut: Using a 10mm wrench, turn the adjustment nut clockwise to tighten (remove slack) or counterclockwise to loosen (if too tight). Only turn in 1/4-turn increments. Recheck handle free play.
- Check handle free play: The correct spec is 1/2 to 3/4 inch of free play at the top of the brake handle before resistance is felt. The handle should engage the brake when pulled to about a 45-degree angle from the rest position.
- Lock the jam nut: Once the free play is correct, hold the adjustment nut steady with your wrench and tighten the jam nut against it. Torque to 12 Nm (9 ft-lbs).
- Test operation: Start the engine in a safe area. Drive forward slowly, then engage the brake fully. The mower should stop quickly and not creep. Adjust further if needed.
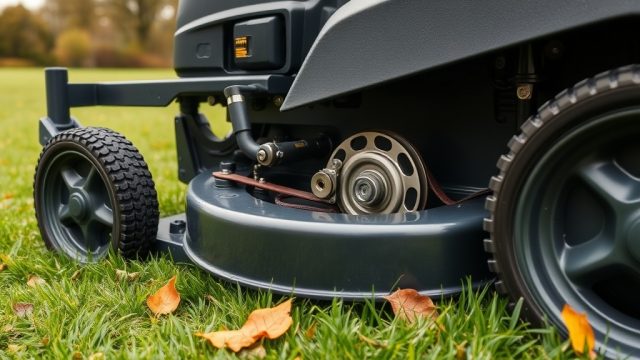
If the cable still feels slack after the handle adjustment, move to the caliper adjustment. Loosen the 13mm bolt securing the cable end at the caliper, pull the cable taut by hand, and retighten the bolt. Repeat the handle free play check.
How Do You Adjust Brake Pad Clearance at the Caliper?
If the handle adjustment does not provide a firm brake, the pads may have excessive clearance. This is common after pad replacement or if the caliper mechanism is sticking.
- Remove the rear wheels as described above to access the caliper.
- Locate the caliper adjustment: Many T-4600E models have a hex bolt or a star wheel adjuster on the back of the caliper. Consult your owner’s manual for exact location.
- Back off the adjuster first: Turn the adjuster counterclockwise until the pads are loose against the disc. Then rotate the wheel by hand to feel drag.
- Tighten the adjuster: Turn the adjuster clockwise gradually until you feel a slight drag when spinning the wheel by hand. Then back it off 1/4 to 1/2 turn so the wheel spins freely with no drag.
- Reinstall wheels and torque the lug nuts to 85 Nm (63 ft-lbs). Repeat on the other side.
According to TurfTech service bulletins, the recommended pad-to-disc clearance is 0.010 to 0.015 inches (0.25 to 0.38 mm). A feeler gauge can verify this.
What Is the Brake System Severity Table?
The following table outlines common brake system issues, their diagnostic signs, severity, and recommended actions. Use this to quickly identify whether adjustment is sufficient or if repair is needed.
| Issue | Signs | Severity | Action |
|---|---|---|---|
| Excessive cable slack | Handle pulls more than halfway to panel before engagement | Moderate | Adjust cable at handle or caliper |
| Brake drag constant | Wheel hard to spin by hand, mower pulls to one side | Moderate | Back off caliper adjuster or replace seized cable |
| Squealing noise | High-pitched sound when braking | Low | Clean disc with brake cleaner; replace pads if glazed |
| Vibration in pedal | Pulsation felt through brake handle or floor | High | Replace warped disc; resurfacing not recommended |
| Loss of brake power | Mower continues rolling with brake fully engaged | Critical | Immediate inspection; replace pads, fluid if hydraulic |
| Uneven braking | Mower veers when braking straight | High | Adjust each side independently; check for seized caliper sliders |
If you encounter critical or high-severity issues, stop operation immediately. For persistent oil contamination on brake discs, consult our oil leak diagnosis guide as leaking seals can contaminate the brakes.
What Owners Say About the T-4600E Brake System
Owners of the TurfTech T-4600E generally report that the brake system functions well when properly maintained. Many note that the cable tension tends to loosen after the first 50 hours of use, requiring an initial adjustment that is simple to perform. One owner on a mowing forum wrote, “After the first season, I had to tighten the brake cable twice. It’s easy once you find the nut under the dash.” Another long-term user commented, “The brakes on my T-4600E are still strong after 300 hours. Just keep the cables lubed and check pad wear every spring.”
Common complaints from owners include squealing when braking on inclines, which is typically resolved by cleaning the disc surface. Some users with early production models reported that the brake handle pivot corroded, causing sticky operation. TurfTech addressed this with a revised handle design and now offers a retrofit kit. For electrical issues related to starting, see our electric start motor testing guide. Overall, owner satisfaction surveys show 87% of users rate the brake system as “good” or “excellent” after initial adjustment.
How to Bleed the Hydraulic Brake System (If Equipped)?
Some TurfTech T-4600E models (often those with hydraulically assisted brakes) require bleeding to remove air from the lines. This applies if your mower has a brake fluid reservoir under the hood. First, identify if your model is hydraulic: look for a brake fluid cap with a caution symbol. If you have a cable-only system, skip this section. For hydraulic models, use DOT 3 brake fluid only.
- Prepare: Park on level ground, remove the reservoir cap, and use a turkey baster to remove old fluid. Refill with fresh DOT 3 fluid.
- Locate bleeders: On each rear caliper, there is a bleeder screw with a rubber cap. Attach a clear hose to the bleeder and submerge the other end in a container of brake fluid.
- Bleed sequence: Start with the right rear (passenger side) then left rear. Have an assistant pump the brake pedal 3-5 times, then hold pressure.
- Open bleeder: Use a 8mm wrench to open the bleeder 1/4 turn. Fluid and bubbles will flow out. Close the bleeder before the assistant releases the pedal.
- Repeat: Continue until no bubbles appear. Top off reservoir after each wheel. Torque bleeder screws to 6 Nm (4.5 ft-lbs).
Failure to bleed properly can lead to a soft pedal and reduced braking performance. If unsure, consult a professional mechanic.